
This guide will walk you through the simple steps to create your signature.
Important Note
Step-by-Step Instructions
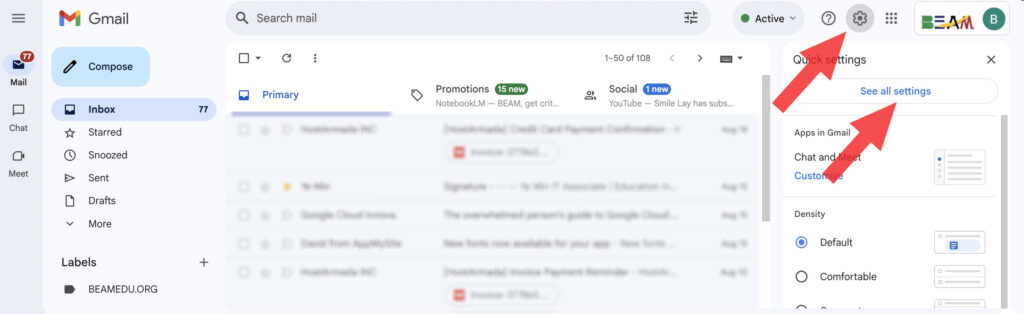
- Open Gmail on your computer.
- In the top-right corner, click the Settings gear icon (⚙️).
- Click on the "See all settings" button.
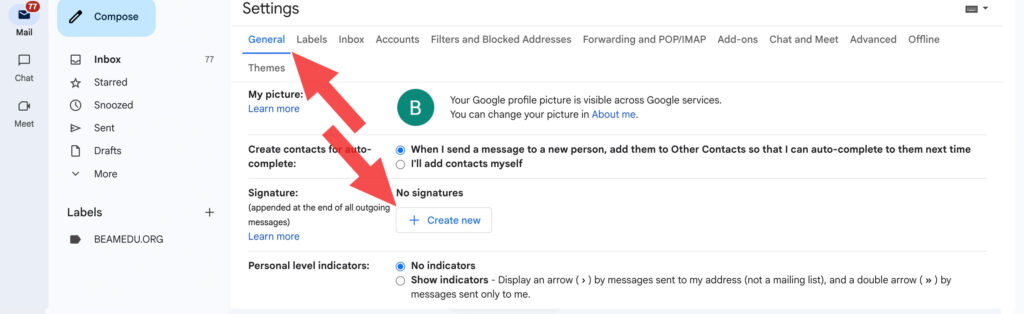
- You will be in the "General" tab. Scroll down until you find the "Signature" section.
- Click the "+ Create new" button.
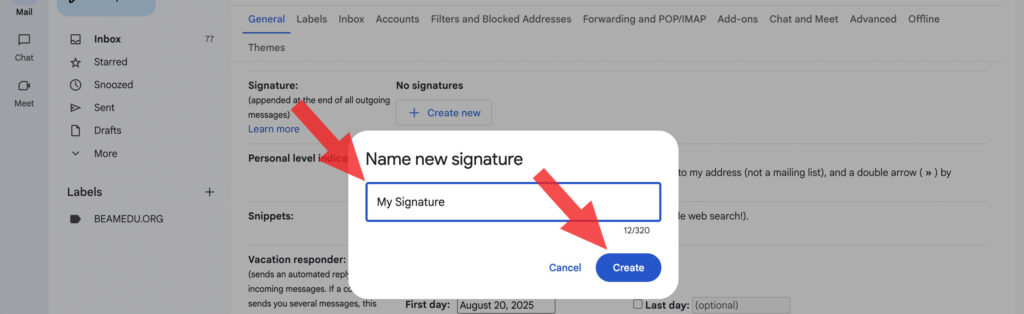
- A small window will pop up. Give your signature a name (e.g., "My Signature") and click "Create".
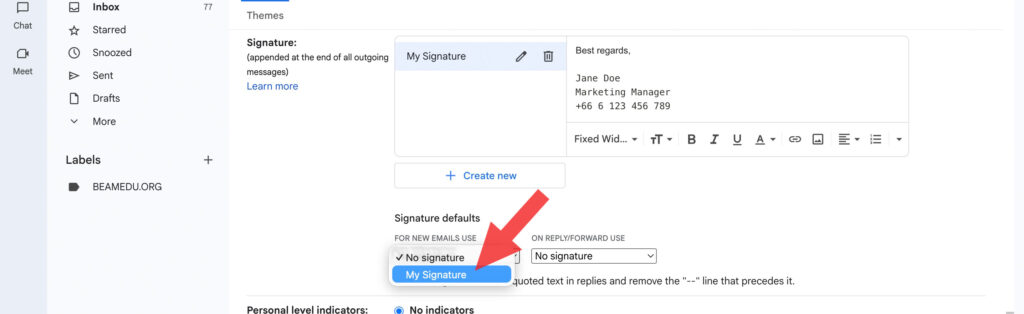
- In the text box on the right, enter your personal information. Please use the following format:
Best regards,

[Your Full Name]
[Your Job Title]
[Your Direct Phone Number]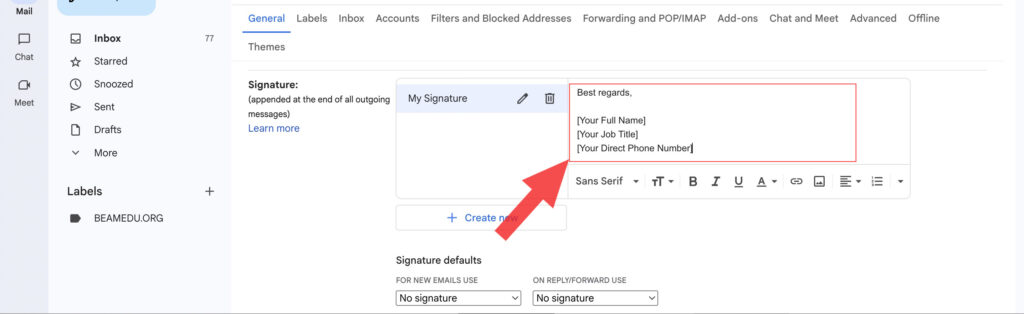
- Below the text box, find the "Signature defaults" section. For both "FOR NEW EMAILS USE" and "ON REPLY/FORWARD USE", select the signature you just created from the dropdown menu.
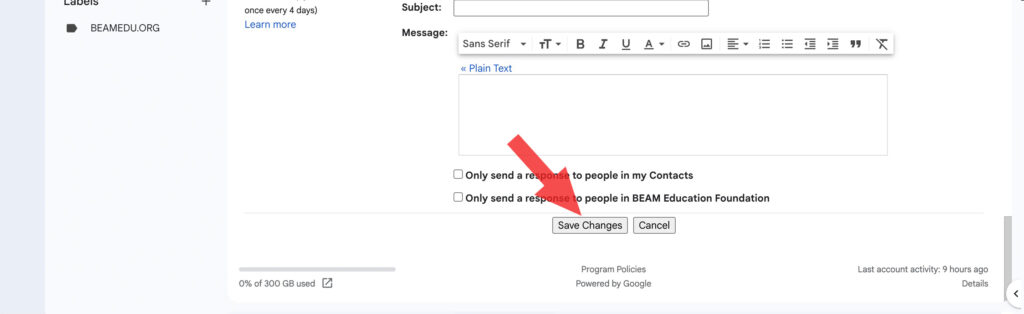
- Crucial Step: Scroll to the very bottom of the page and click the "Save Changes" button. Your signature is now active.
Video Tutorial
For a visual guide, please watch this short screen recording that shows you every step mentioned above.
Example of a Completed Signature
Here is an example of what your personal signature should look like in the settings box:
Best regards,

Jane Doe
Marketing Manager
(+66) 6 123 456 789
Thank you for your cooperation in maintaining a professional and unified brand image.
If you have any questions or run into any issues, please feel free to reach out to the IT/Admin department.